
New Skill
Button foot
This clutch will be your go-to item as your running out the door. If you're like me, you'll be making up your own pattern as you go, but below are the steps to make this great clutch. It's one piece of fabric that once sewn together, you fold twice. It doesn't get much easier! Have fun with it!
You'll Need
* One piece of fabric measuring 25"x20" (Bag)
* One piece of fabric measuring 13"x5" (Strap)
* Button
* Button foot
* 30 minutes
* SIT Kit
* One piece of fabric measuring 13"x5" (Strap)
* Button
* Button foot
* 30 minutes
* SIT Kit
START TIME

 1. Take the smaller piece of fabric and place the right sides together. Sew up the long side and flip outside right. Then fold in half again and sew along the seam. This will be your handle.
 2. Take the large piece of fabric, fold in half so the longer sides are touching, then fold the bottom up, and then the top over that.
 TIME CHECK

 3. To make the point, measure 6.5" from the left side (half of 13") and make a mark, then 2" up on each side. Using your ruler, line up the dots and connect. Then pin and cut along the line.
 4. Open up the clutch and on the back panel; place the handle inside the bag, and pin all the way around, including here to hold the handle in place.
 5. Sew all the way around, leaving about 5" for you to be able to pull it through inside right. Once you hand sew this hole closed, line up where you want the bottom and top flap to be placed, and pin them in place.
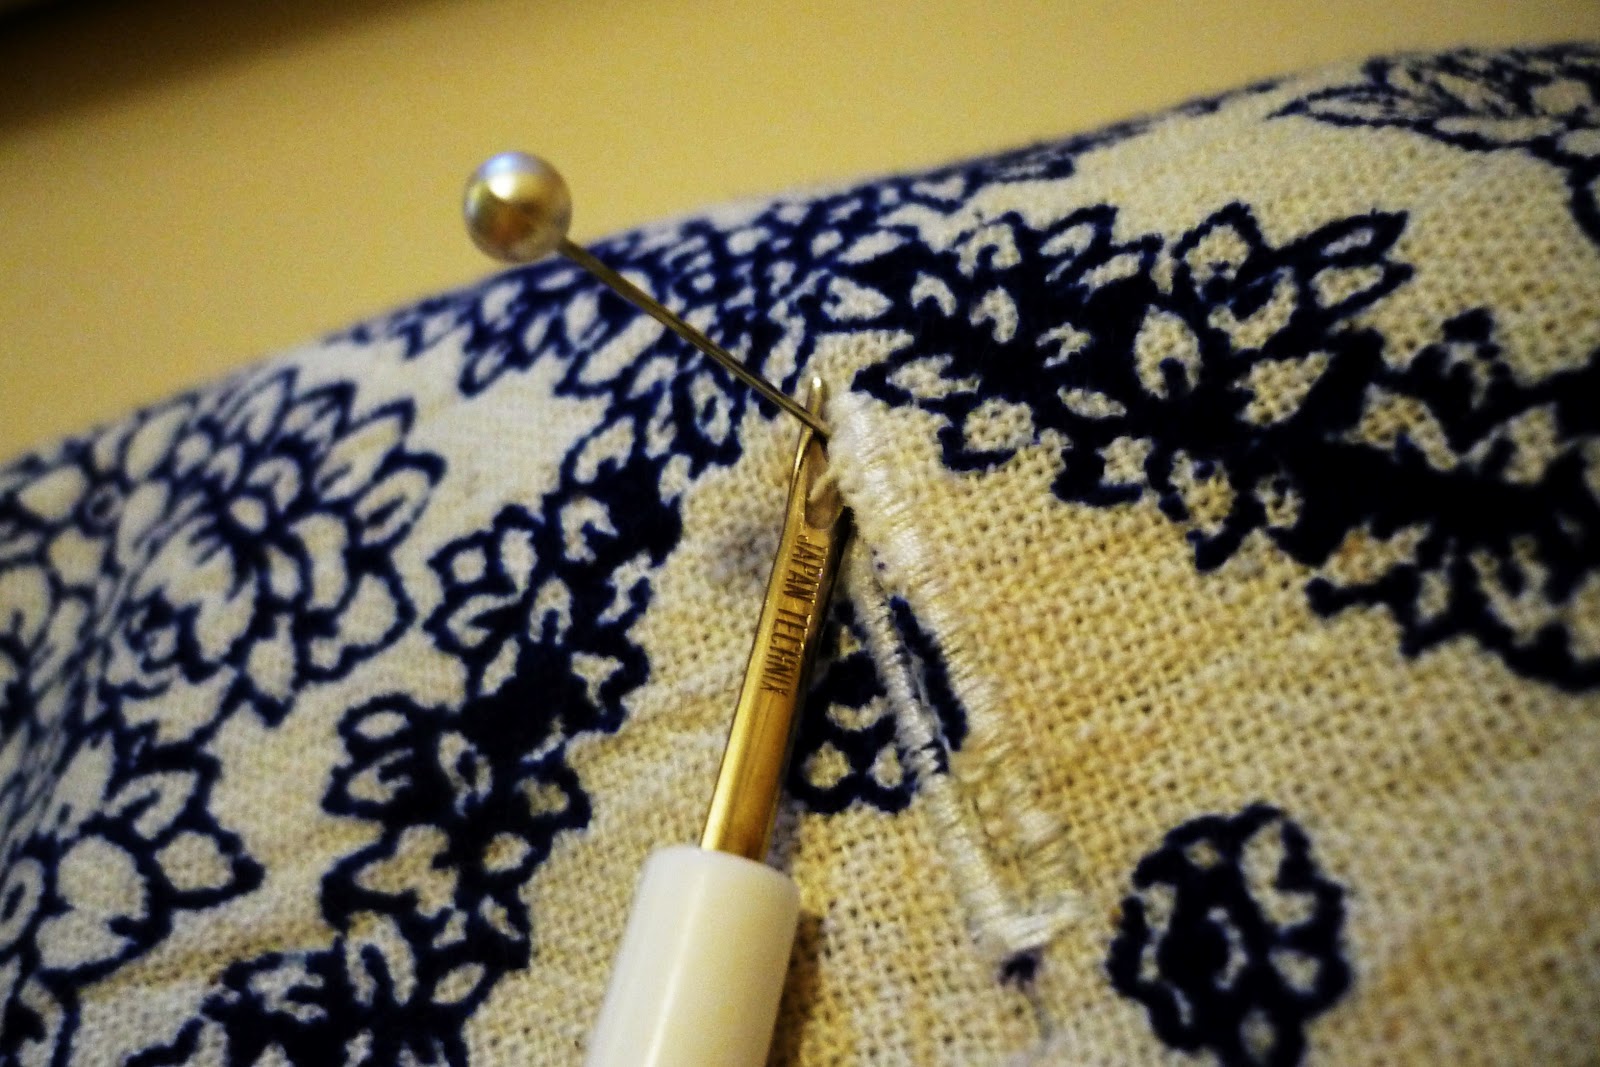 |
| Click Here for HOW TO: Button Foot |

 7. Open the hole, and place the button in the space. Sew on your button, making sure it's very snug, as this will be getting a lot of use!
FINISHED

~ M

This blog was featured on Sundae Scoop and Petite Hermine


.jpg)


I just went to update my blog and saw this! SOOO adorable!
ReplyDelete